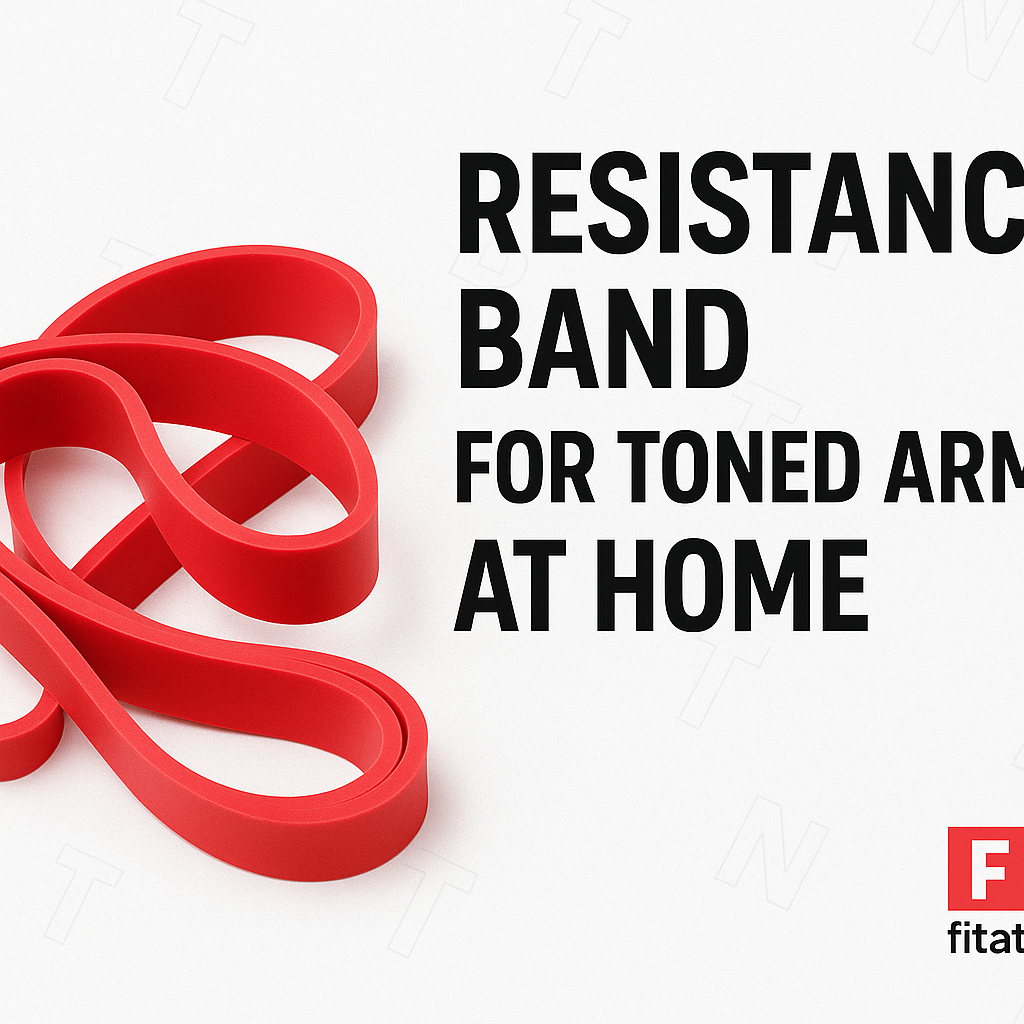
Introduction to Resistance Band Training
Resistance band training is an increasingly popular method for enhancing strength and toning muscles without the need for heavy weights or bulky gym equipment. These elastic bands provide a variable resistance that makes them suitable for individuals of all fitness levels, from beginners to advanced athletic enthusiasts. One of the major advantages of resistance bands is their versatility; they can be used to perform a wide range of exercises targeting various muscle groups, including the arms, legs, and core.
In particular, resistance bands are excellent tools for toning the arms. The capability to adjust the resistance levels allows users to progressively challenge their muscles as they gain strength. This adaptability not only enhances muscle endurance but also contributes to improved overall fitness, enabling users to engage in both strength training and rehabilitation exercises with ease. Consequently, including resistance band workouts in one’s fitness regimen can lead to enhanced arm definition, strength, and function.
Moreover, resistance bands are remarkably affordable and portable, making them easily accessible for home workouts. Unlike traditional weights or gym machines, bands can be used in confined spaces, which is a significant advantage for those who do not have access to a gym or prefer exercising at home. This means individuals can incorporate effective arm-toning exercises into their lifestyle irrespective of their living arrangements or financial constraints.
Having toned arms is important not only for aesthetic reasons but also for enhancing functional strength. Improved arm strength can benefit daily activities such as lifting, reaching, or carrying, ultimately leading to a more active and independent lifestyle. Through resistance band training, individuals can achieve both improved muscular endurance and the visual results they desire. As we explore specific resistance band exercises, readers will discover effective techniques to achieve toned arms within the convenience of their home environment.
Choosing the Right Resistance Band
When embarking on a workout regimen that utilizes resistance bands, selecting the appropriate type is crucial to ensure effectiveness and safety. Resistance bands come in various forms, including loop bands, tube bands with handles, and fabric bands. Loop bands are versatile and can be used for a range of exercises targeting different muscle groups. Tube bands with handles often provide a more ergonomic grip, beneficial for exercises that require pulling or pushing motions. Fabric bands, typically more durable, are designed specifically for lower body workouts and can enhance resistance without compromising comfort.
Resistance levels are another important consideration when selecting a band. Most bands are color-coded to represent their resistance level, typically ranging from light to heavy. Beginners should start with a lighter band to master the exercises and prevent injury. As strength increases, intermediate users might consider medium resistance bands, while advanced exercisers may benefit from higher resistance options. A useful tip for determining the right resistance is to test the band by performing a simple exercise, such as a bicep curl. The ideal band should allow you to perform the movement with proper form while still presenting a challenge.
For individuals seeking to add variety to their workout, combining bands of different resistances can enhance the effectiveness of their routines. This method allows users to target muscle groups at various strength levels without the need for a large range of equipment. However, safety should remain a priority. Always inspect bands for signs of wear or damage prior to use to avoid unexpected snaps. Additionally, ensure that the bands are anchored securely, and maintain a controlled movement throughout each exercise. By following these guidelines, one can safely and effectively incorporate resistance bands into their at-home workout routine.
Warm-Up Routine for Arm Workouts
Before engaging in resistance band exercises targeting the arms, it is crucial to incorporate a warm-up routine. Proper warming up prepares the muscles and joints, significantly reducing the risk of injuries while enhancing overall performance. A well-planned warm-up focuses on dynamic movements and stretches that specifically activate the shoulders, biceps, and triceps. This section outlines a simple yet effective warm-up routine that can be performed at home.
Begin your warm-up with arm circles. Stand with your feet shoulder-width apart and extend your arms straight out to the sides at shoulder height. Perform small circles, gradually increasing their size for about 30 seconds, then reverse the direction. This movement effectively loosens the shoulder joints and activates the upper arms.
Next, perform dynamic stretches such as shoulder rolls. While standing, lift your shoulders towards your ears and then roll them back and down. Repeat this motion for 30 seconds, alternating direction halfway through the set. This exercise increases blood flow to the shoulders and enhances mobility.
Following shoulder rolls, it is beneficial to engage in bicep pulses. Stand tall with your feet hip-width apart. Bend your elbows at a 90-degree angle, keeping your fists at shoulder height. Pulse your forearms up towards your shoulders and then lower them back, completing this movement for 15-20 repetitions. This will activate the biceps in preparation for more intense exercises.
Lastly, incorporate tricep extensions by raising your arms overhead, elbows bent at 90 degrees. Extend your arms upwards slowly, and then lower them back to the starting position. Repeat this for 10-15 repetitions to ensure the triceps are adequately warmed up. Following this structured warm-up routine, you will be ready to engage in your resistance band exercises, setting a solid foundation for an effective workout.
Exercise 1: Bicep Curls with Resistance Band
Bicep curls are a fundamental exercise for building and toning the arm muscles, particularly the biceps brachii. Using a resistance band for this exercise effectively engages these muscles while providing a safe alternative to free weights. To perform a proper bicep curl, begin by securing the resistance band under your feet. Stand with your feet shoulder-width apart and ensure that the band is taut. Hold the handles or ends of the resistance band with an underhand grip, positioning your elbows close to your torso.
As you begin the curl, keep your elbows stationary and exhale while raising your hands towards your shoulders. This motion activates the biceps, allowing for maximum muscle engagement. Slowly lower your hands back to the starting position while inhaling, effectively completing one repetition. It is crucial to maintain proper posture throughout the exercise: keep your back straight and core engaged to avoid any undue strain on your lower back.
To vary the difficulty of the exercise, you can adjust the resistance level of the band. Using a thicker band or shortening its length can increase resistance, leading to enhanced muscle challenges. Beginners may start with two to three sets of 10-12 repetitions, progressively increasing as strength develops. Ensuring that each repetition is controlled and deliberate helps prevent injuries and promotes effective muscle toning.
It is essential to listen to your body while performing bicep curls with a resistance band. If any unusual discomfort or pain arises, stop the exercise and reassess your form. Additionally, warm-up before starting your routine and stretch afterward to maintain flexibility. By incorporating bicep curls into your workout regimen, you can achieve toned arms without the need for extensive equipment.
Exercise 2: Tricep Extensions with Resistance Band
Performing tricep extensions with a resistance band is an effective exercise for toning the arms, specifically targeting the tricep muscles situated at the back of the upper arms. To begin, find a sturdy anchor point for the resistance band. This could be a closed door, a pole, or any immovable object at a suitable height. Step away from the anchor to ensure there is tension in the band, creating resistance for the exercise.
Stand with your feet shoulder-width apart, ensuring your stance is stable. Bend slightly at the knees to lower your center of gravity and engage your core. Grasp the resistance band with both hands, keeping your palms facing down. Position your arms at a 90-degree angle, with your elbows bent and close to your body. This grip is crucial as it helps to isolate the tricep muscles during the movement.
To execute the tricep extension, slowly extend your arms straight out in front of you, fully engaging the triceps as you push against the resistance of the band. Be mindful to keep your elbows stationary and close to your sides throughout the entire movement, as this will ensure maximal activation of the triceps. After reaching full extension, pause for a moment before slowly returning to the starting position. This controlled motion not only emphasizes muscle engagement but also helps in maintaining proper form, thereby preventing injury.
For those new to this exercise, consider using a lighter band or performing fewer repetitions. A recommended starting point is 2-3 sets of 10-15 reps. As strength improves, gradually increase the resistance or the number of repetitions to suit your fitness level.
Incorporating tricep extensions with a resistance band into your training routine will not only help in toning your arms but also improve overall arm strength.
Exercise 3: Lateral Raises with Resistance Band
Lateral raises are an effective exercise for targeting the shoulder muscles, particularly the deltoids. Utilizing a resistance band can enhance this movement, providing constant tension throughout the range of motion. To perform lateral raises with a resistance band, begin by selecting an appropriate resistance level based on your strength and fitness level. Stand upright with your feet shoulder-width apart and place the center of the resistance band under your feet. Grasp each end of the band with your hands, keeping your palms facing inward and arms at your sides.
Once you are in position, engage your core and maintain a slight bend in your elbows. Slowly raise your arms outward to the sides until they reach shoulder height. It is essential to control the motion, avoiding any jerking or swinging movement. Keep your wrists straight and relaxed as you perform the raise, ensuring that the movement is coming from your shoulders. Pause briefly at the top of the raise to maximize muscle engagement before gently lowering your arms back to the starting position.
To adapt the exercise to suit different fitness levels, consider varying the resistance band thickness or adjusting your foot placement on the band. A wider stance will generally increase the resistance, making the exercise more challenging. Additionally, lighter bands may be more suitable for beginners or those recovering from shoulder injuries. Throughout the movement, focus on maintaining proper posture; keep your shoulders down and away from your ears, and avoid arching your back.
As you become more experienced with lateral raises using resistance bands, you may introduce other variations, such as alternating raises or incorporating pauses at the top of the motion. These modifications can further enhance the effectiveness of the exercise while preventing workout monotony.
Exercise 4: Front Raises with Resistance Band
Front raises with a resistance band are an excellent exercise to specifically target the anterior deltoids, enhancing shoulder strength and overall arm tone. To begin, secure the resistance band under your feet, ensuring it is properly aligned to provide adequate tension. Stand with your feet shoulder-width apart, maintaining a straight posture with your chest up and shoulders back. This physical alignment is crucial to prevent any strain and to ensure that the muscles engage correctly throughout the movement.
Grasp the ends of the resistance band firmly in each hand, with your palms facing down. Starting with your hands at thigh level, inhale deeply, and as you exhale, raise your arms straight in front of you to shoulder height. Be mindful to keep your arms fairly straight, with only a slight bend at the elbows. Pause briefly at the top of the movement to maximize contraction in the anterior deltoids before gently lowering your arms back down to the starting position while inhaling. It is important to perform the movement in a controlled manner to ensure both effectiveness and safety.
For those seeking a greater challenge, consider incorporating variations such as alternating front raises. This involves raising one arm while the other remains at your side, which adds core engagement and instability into the workout. Additionally, adjusting the resistance level of the band can also help accommodate various strength levels, making this exercise suitable for different fitness enthusiasts.
To effectively incorporate front raises into your arm routine, aim for 2 to 3 sets of 10 to 15 repetitions, adjusting as needed based on your fitness level and goals. This structured approach not only contributes to toned arms but also enhances upper body functionality. Regular practice will lead to noticeable improvements in strength and endurance.
Exercise 5: Push-Ups with Resistance Band
Push-ups are a foundational bodyweight exercise known for building upper body strength, particularly targeting the arms, chest, and shoulders. Adding a resistance band to this classic movement enhances its effectiveness, increasing the challenge and promoting muscle engagement. To perform a push-up with a resistance band, first, secure the band to a stable anchor point on the floor, such as a pole or piece of furniture. Next, slide the band around your upper back, holding onto the ends of the band with your hands, which will help provide additional resistance as you lower your body.
Begin in a plank position, ensuring your hands are positioned slightly wider than shoulder-width apart, in line with your chest. Engage your core muscles to maintain body alignment from head to heels throughout the exercise. Lower your body towards the ground by bending your elbows, keeping them close to your torso. As you push back up to the starting position, the resistance band will create additional tension, making the muscles in your arms and chest work harder. This added resistance can stimulate muscle growth and improve overall strength.
For individuals who find the standard push-up too challenging, a modified version can be performed by placing your knees on the ground while maintaining a straight line from your knees to your head. Alternatively, for those looking to escalate their workout, one can try elevating the feet on a step or bench, further intensifying the resistance band challenge. Incorporating push-ups with a resistance band offers numerous benefits, including enhanced arm toning, improved grip strength, and increased stability. By consistently practicing this exercise, individuals can develop more defined, stronger arms from the comfort of their homes.
Conclusion and Additional Tips for Arm Toning
Achieving toned arms requires a combination of consistent effort, strategic exercise, and supportive lifestyle choices. Integrating resistance band exercises into your regular fitness routine is an effective approach to strengthen and shape the muscles in the arms. It’s crucial to commit to these exercises at least two to three times a week to see tangible improvements over time. The key to success lies in maintaining consistency, ensuring that your workouts become a regular part of your schedule.
Tracking individual progress can further enhance effectiveness. Keeping a log of your workouts, including the resistance levels used and the number of repetitions performed, can provide insights into strength development and overall improvement. Additionally, setting specific, measurable goals can help maintain focus and motivation. It can be beneficial to periodically reassess these objectives to ensure they remain realistic and inspiring.
Incorporating variety into your resistance band workouts is also vital. Utilizing different bands, adjusting resistance levels, or trying new exercises can prevent plateaus and keep your routines engaging. Moreover, balancing your training with other strength training or cardio exercises can foster overall fitness and may yield better results in toning your arms.
Nutrition plays a critical role in supporting your arm toning efforts. Prioritizing a balanced diet that includes adequate protein intake, healthy fats, and a variety of fruits and vegetables can aid muscle recovery and growth. Staying hydrated is equally essential. For those seeking additional motivation, consider joining a fitness community or finding a workout partner; accountability can greatly enhance your commitment to arm toning and workouts.
By fostering a supportive environment and emphasizing a holistic approach to fitness, you can achieve the toned arms you desire while enjoying the process.
0 تعليق